Step1. After having a WordPress web hosting plan and a domain, please log-in to the “cPanel”.
Step2. Click “Installatron Applications Installer”.

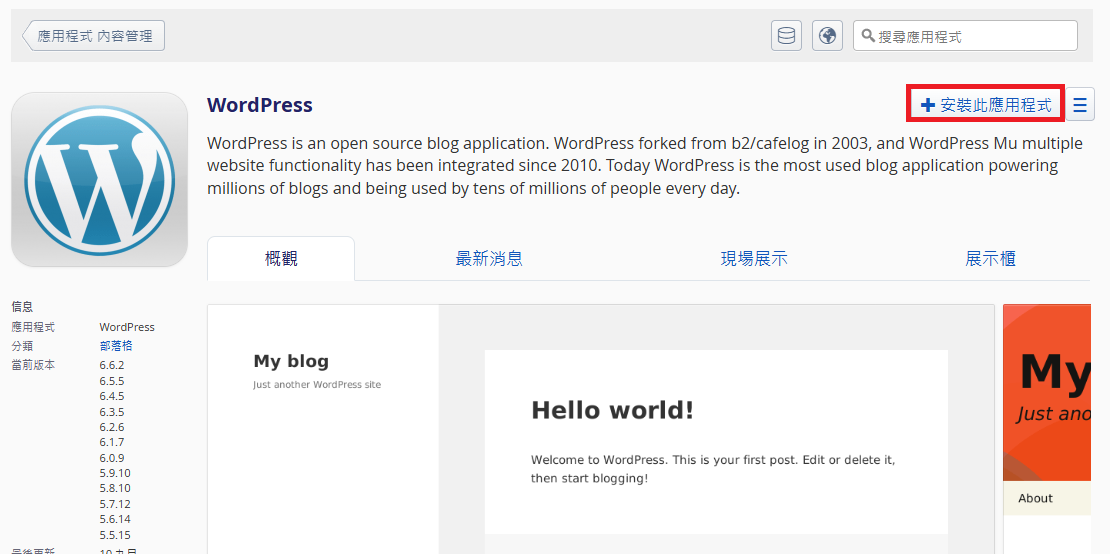
Step3. At “Installatron” screen, please search for “WordPress” in the top right corner as photo below:
Step4. Click “Install this app”.
Step5.Fill in your the “domain” and “directory”:
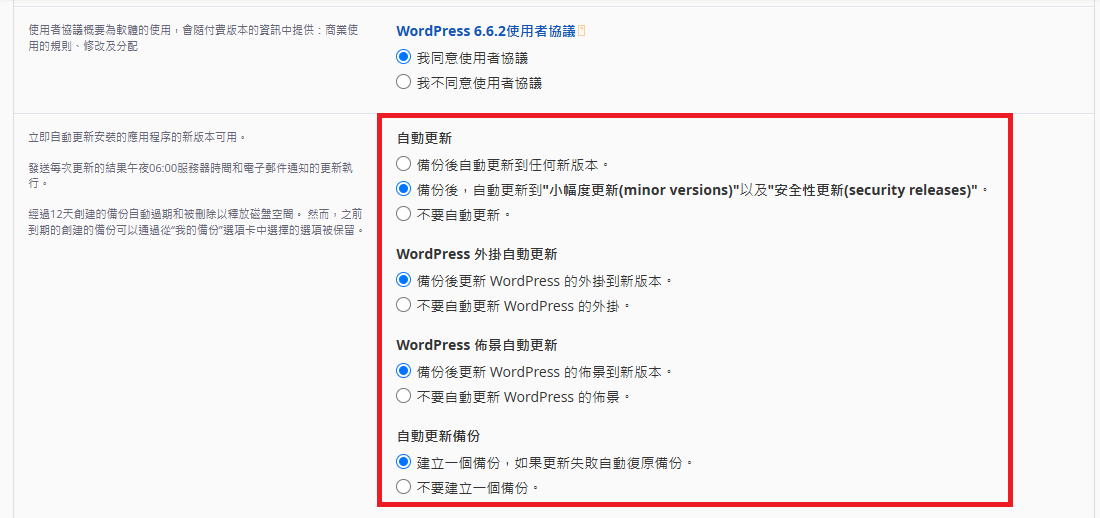
Step6. “Update to new minor version and security releases”
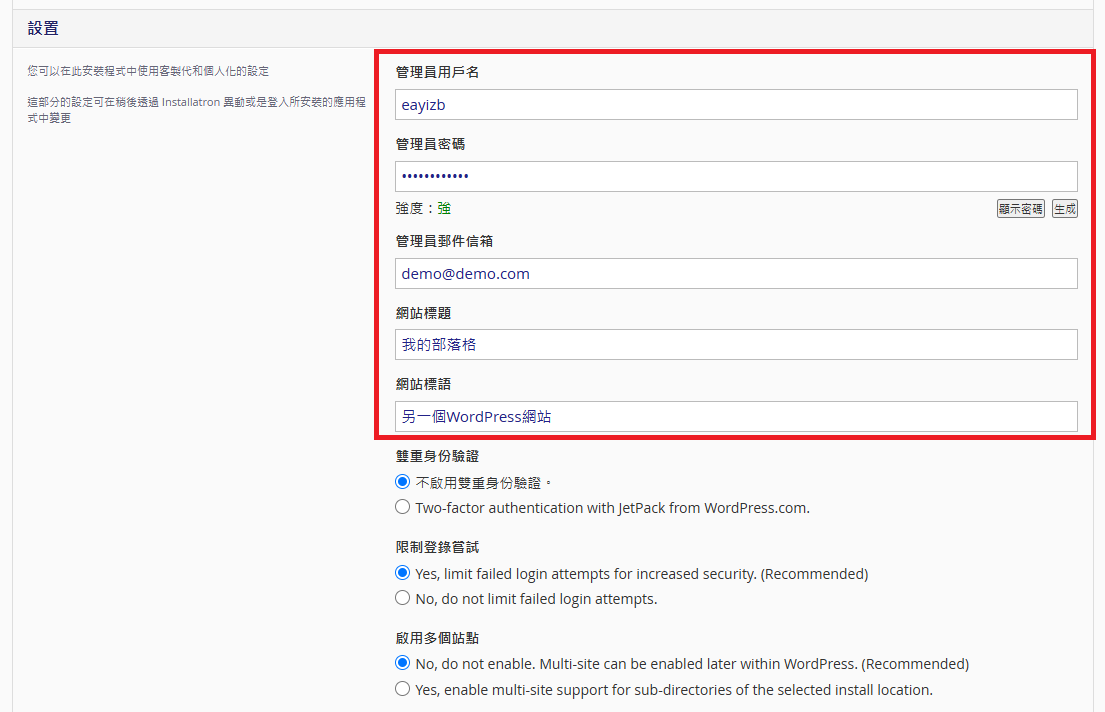
Step7. Enter the WordPress back-end administrator account, password, and email address.
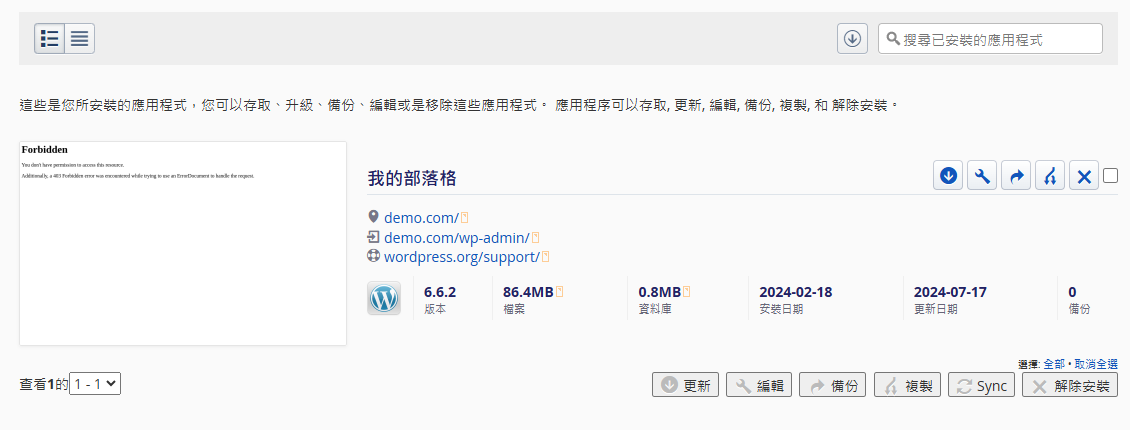
Step8. Click “Install”, to set “upgrade, edit, backup, copy, uninstall” on the WordPress application by yourself, it is very convenient!

To learn about WordPress optimized hosting plan >> WordPress Hosting Solutions
| 